So You Wanna Create a Workspace in Notion? Here’s How (No Overthinking Needed)
Let’s be real — we’re all juggling a million things. Notes here, to-dos there, files… who knows where. If your brain’s been screaming for some kind of order, Notion might just be the tool you didn’t know you needed.
But before you start building pretty dashboards or planning your month like a productivity guru, you gotta do one thing first: set up your workspace.
This guide? It’s not for the pros or the productivity nerds. It’s for you — the person staring at a blank Notion screen thinking, “Uhhh… now what?”
Let’s make it simple.
🧐 Wait — What Is a Notion Workspace Anyway?
Okay, picture this: your Notion workspace is like your house. Every page, database, or to-do list? That’s the furniture inside. You can have one house, or you can have a few — like one for work, one for personal stuff, and maybe even one for that random side hustle you’re trying to get off the ground.
It keeps everything neatly separated, which is a dream if your brain runs in different directions like mine.
🚀 Quick and Painless Steps to Set One Up
You seriously don’t need a tech degree for this — just a few clicks and boom, you’ve got a digital home base.
1. Log Into Notion
Go to notion.so and sign in. If you’re brand new, you’ll have to make an account first. Easy stuff — just your email or Google/Apple ID.
2. Click That Workspace Dropdown
Look at the top left. See your workspace name (or maybe your name)? Click the arrow next to it.
That little dropdown is how you flip between workspaces, by the way.
3. Hit “Join or Create Workspace”
It’s at the bottom of that menu. Go ahead and click it. Don’t overthink.
4. Tell Notion What You’re Using This For
Now Notion’s gonna ask:
- “For myself?” → solo, personal stuff
- “With a team?” → shared space with others
Pick whichever makes sense. There’s no wrong answer.
5. Give It a Name & Some Personality
Now name your space! Could be “Life Stuff,” “Client Projects,” “Brain Dump,” — whatever fits. You can even add an icon or emoji to make it feel more you.
This part’s kinda fun, honestly.
6. Templates? Yes or Nah?
Notion might offer you a few pre-made setups. If you’re brand new, it’s not cheating to use them. You can delete or tweak them later. Or skip if you’re the “blank canvas” type.
💡 Some Not-So-Obvious Tips You’ll Thank Me For
Let me save you from some rookie mistakes.
- Don’t build the Taj Mahal on day one.
Seriously. Keep it chill. Start with one or two pages. Maybe a task list. Maybe a page called “Stuff I Keep Forgetting.” Whatever helps. - Sidebar = Your Homebase.
Think of it like drawers in your desk. You don’t need 20 of them. Just make a few sections: Work, Personal, Ideas, etc. - Use Templates, But Don’t Be a Slave to Them.
Grab a template, tweak it. Delete the parts you don’t like. Add cat emojis if that makes you happy. This is your space.
❓ Common Questioning
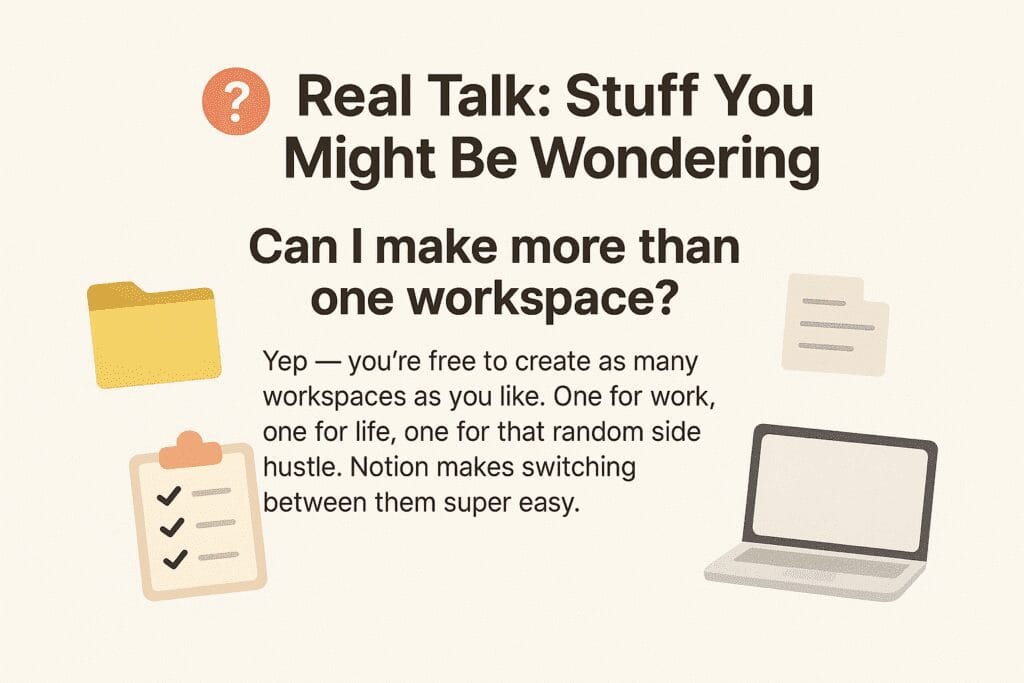
Can I have more than one workspace?
Yep. And you can switch between them without logging out.
Does this cost anything?
Nope — Notion’s free plan is solid. You’ll only need to pay if you’re working with a team or uploading massive amounts of stuff.
How do I delete a workspace?
If you’re an admin, go to Settings & Members > Settings and scroll to the scary red “Danger Zone.” Click delete — but only if you’re 100% sure. It’s permanent.
That’s It — You’re In
Setting up a Notion workspace is honestly way easier than most people think. And once you’ve got it going? It just clicks. Start with something simple, mess around a little, and before you know it, your digital life starts making sense.
Seriously — a week from now, you’ll wonder how you managed without it.
So go on — build your space. It’s your brain, organized.